Deploying Ethereum Full Node on Holesky Test Net

Getting started with running a full node on Holesky testnet
Requirements
The consensus client used in this guide is Lighthouse and Nethermind as the execution layer.
Since we will be deploying to various systems, docker and docker compose will be used as the deployment agent.
Setting up
First create a local working directory with your desired name, for this example we will be working on nethermind-node
1
mkdir nethermind-node
change into the directory and open it in your desired code editor, for our case vscode was used.
1
cd nethermind-node && code .
we will then create a docker compose file and two other directories to persist our docker container data.
The two folders to create are lighthouse_data and nethermind_data, after which we will end up with a folder structure similar to this:
1
2
3
4
5
nethermind-node
|  docker-compose.yaml
|
|__lighthouse_data
|__nethermind_data
We will also need to generate a JWT secret that will be used by both consensus client and execution client for communication.
1
  openssl rand -hex 32 | tr -d "\n" > "./jwtsecret"
If you do not specify a JWT secret, then the execution and/or consensus layer client will automatically generate one for you
Setting up the Execution Client
Inside our docker-compose.yaml file we will setup a nethermind service following the guideline in their client website documentation.
1
2
3
4
5
6
7
8
9
10
11
12
13
14
15
16
17
18
version: '3.8'

services:
  nethermind:
    image: nethermind/nethermind
    container_name: nethermind
    volumes:
      - ./nethermind_data:/nethermind/data
      - ./jwtsecret:/nethermind/jwtsecret
    ports:
      - 8545:8545
      - 8551:8551
    command: |
      --config holesky
      --JsonRpc.Enabled true
      --JsonRpc.Host=0.0.0.0
      --JsonRpc.JwtSecretFile /nethermind/jwtsecret
    network_mode: host
Here we are defaulting to use the default latest image from nethermind nethermind/nethermind, then mounting the earlier generated jwt secret to nethermind service, together with a volume for data persistence.
In the command section we are setting the configuration to use holesky --config holesky.
we then enable the json rpc and bind it to the localhost adderess in the container.
We are then instructing nethermind service to use the pregenerated JWT secret which is currently mounted in /nethermind/jwtsecret
For more information on setting up the execution client you can reffer to the official docs
Setting up the Consensus Client
For serring up Lighthouse we follow a similar approach to the execution client.
In the same docker-compos.yaml add the following configurations:
1
2
3
4
5
6
7
8
9
10
11
12
13
14
15
16
17
18
19
20
21
  lighthouse:
    image: sigp/lighthouse
    container_name: lighthouse
    volumes:
      - ./lighthouse_data:/root/.lighthouse
      - ./jwtsecret:/lighthouse/jwtsecret
    ports:
      - 9000:9000
      - 9001:9001
      - 5052:5052
    network_mode: host
    command: |
      lighthouse
      bn
      --http
      --http-address 0.0.0.0
      --network holesky
      --execution-endpoint http://localhost:8551/
      --execution-jwt /lighthouse/jwtsecret
      --checkpoint-sync-url-timeout 1000
      --checkpoint-sync-url https://holesky.beaconstate.info
Same as the execution client we use default to sigp/lighthouse latest image.
We mount the data volume lighthouse_data and the JWT secret.
we pass command arguments to choose holesky, execution-endpoint url which will be accessible at http://localhost:8551/ the jwt token that we genrated.
The checkpoint sync url is important to prevent downloading unncessary historic data which could be huge.
Checkpoint sync timeout was set to handle slower connection and prevent sync from timing out.
More information on setting up a node can be found here
Deploying the full node locally
After completing the above steps you should have a compose file similar to this:
1
2
3
4
5
6
7
8
9
10
11
12
13
14
15
16
17
18
19
20
21
22
23
24
25
26
27
28
29
30
31
32
33
34
35
36
37
38
39
40
version: '3.8'

services:
  nethermind:
    image: nethermind/nethermind
    container_name: nethermind
    volumes:
      - ./nethermind_data:/nethermind/data
      - ./jwtsecret:/nethermind/jwtsecret
    ports:
      - 8545:8545
      - 8551:8551
    command: |
      --config holesky
      --JsonRpc.Enabled true
      --JsonRpc.Host=0.0.0.0
      --JsonRpc.JwtSecretFile /nethermind/jwtsecret
    network_mode: host

  lighthouse:
    image: sigp/lighthouse
    container_name: lighthouse
    volumes:
      - ./lighthouse_data:/root/.lighthouse
      - ./jwtsecret:/lighthouse/jwtsecret
    ports:
      - 9000:9000
      - 9001:9001
      - 5052:5052
    network_mode: host
    command: |
      lighthouse
      bn
      --http
      --http-address 0.0.0.0
      --network holesky
      --execution-endpoint http://localhost:8551/
      --execution-jwt /lighthouse/jwtsecret
      --checkpoint-sync-url-timeout 1000
      --checkpoint-sync-url https://holesky.beaconstate.info
The next step is just running the command below in a VSCODE terminal winndow, make sure you are in the same folder as the docker-compose.yaml file:
1
docker compose up
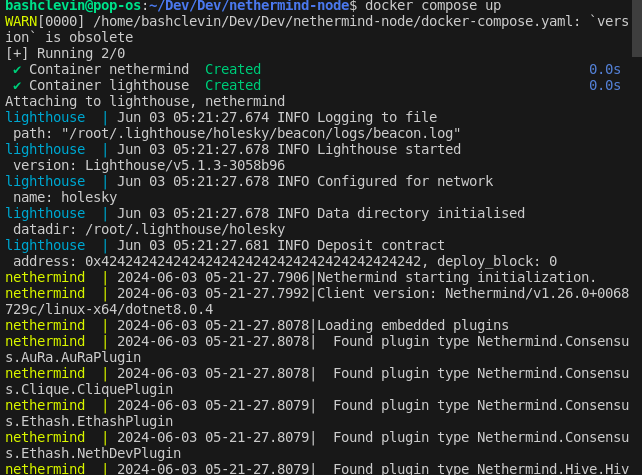
Lighthouse beacon node will take time to sync on the first setup. You can also use other public sync endpoints if you encounter problems.
Testing the endpoints
After both the executor and consensus client are up and running, you can send requests to the executor layer JSON-RPC and consensus client api.
The endpoints avalable for the consensus client are documented here
While for the executor are located here
sample requests:
We will run the command:
1
curl -X GET "http://localhost:5052/lighthouse/health" -H  "accept: application/json" | jq
we are get a response:
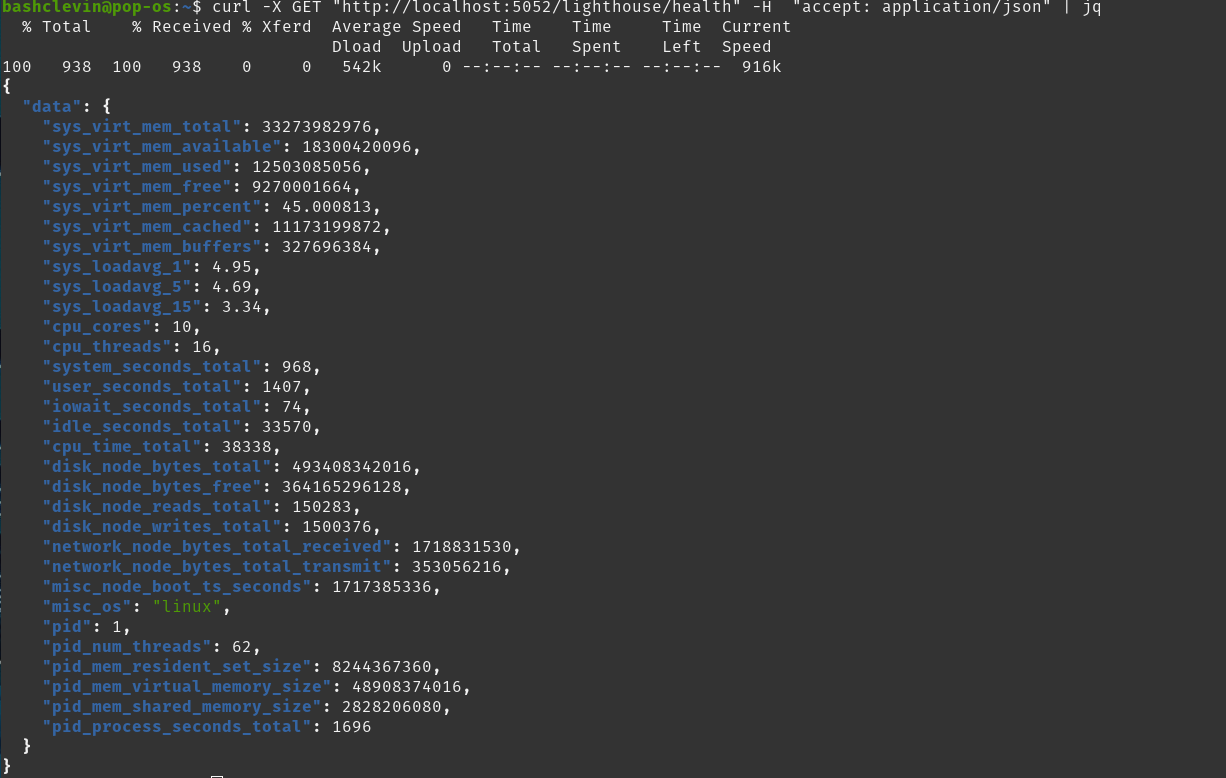
If lighthouse client has not started fully you might get a network reset by peer error
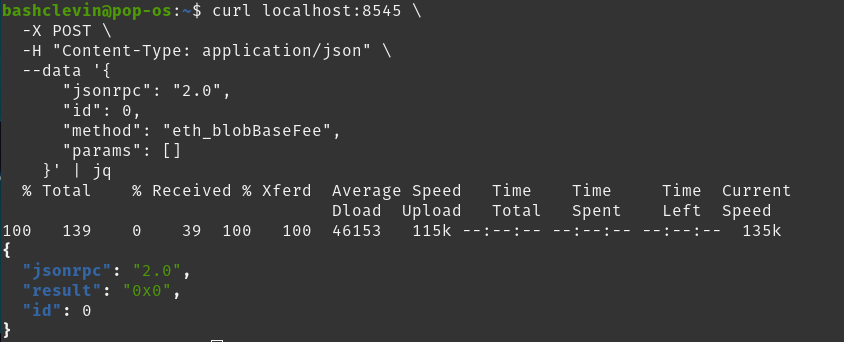
For the Nethermind executor client we will run:
1
2
3
4
5
6
curl localhost:8545 -X POST   -H "Content-Type: application/json"   --data '{
    "jsonrpc": "2.0",
    "id": 0,
    "method": "eth_blobBaseFee",
    "params": []
  }' | jq
We will receive a response:
With that we have successfully deployed a full node on our machines. Note that there are other ways of deploying the node which does not involve docker or docker compose.
Docker was only used to avoid installing unnecessary packages in our system and to make sure that we can have same setup in different os types.